
Instructions for activating server management from OVH data centers.
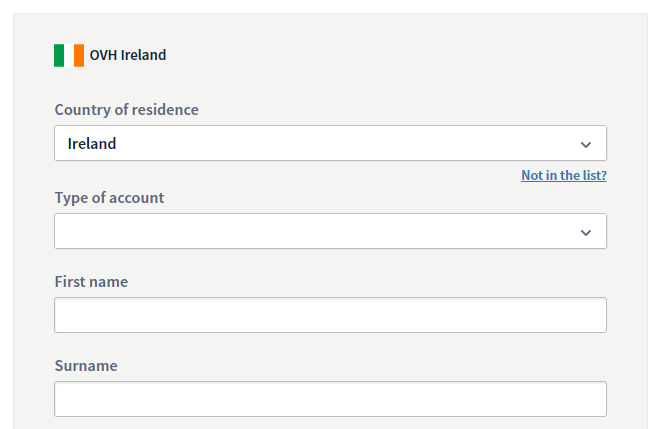
1. Create an OVH admin account
If you already have a purchased server, register here: https://www.ovh.com/auth/ (Must be OVH Ireland, use your own data from any country (preferably Kazakhstan or Ukraine) and specify the email you use in your account on abcd.host). If you don’t have a server yet, you can purchase one in your personal account: https://usd.abcd.host/billmgr (price list)
2. Send the received login “dentifiant client”
Send the “dentifiant client” login received to your mail in the ticket, all logins are created with the “-ovh” prefix, the login will look like this: qw65346-ovh.
3. Access confirmation
Next, we give you access, and you will receive an email with which you activate the panel.
3.1. In the letter, follow the link “To confirm or decline the request, please click on the following link:” .
3.2. And in the opened OVH admin panel, confirm access, click on the gear and “Accept request” .
4. Done! You can now manage your server!
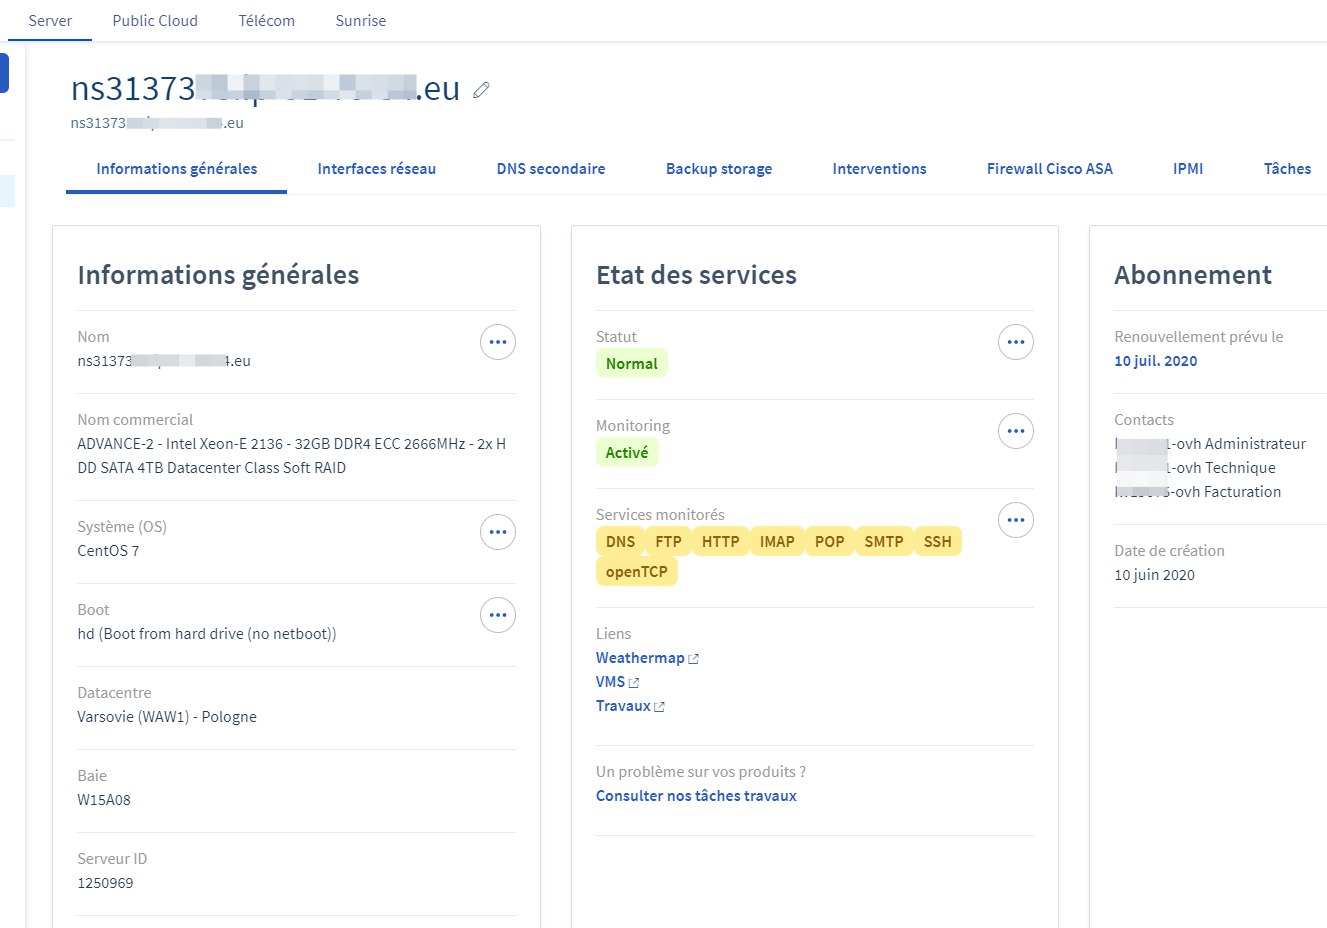
OVH admin panel overview https://dedicatedserver.blog/panel-upravleniya-serverom-ovh/